Seam Allowance: What It Is and Why It’s Crucial in Garment Construction
Meta Description: Seam allowance refers to the distance between the seam line and the fabric edge. Learn about its importance, how to calculate it, and why it’s essential for a well-constructed garment.
What is Seam Allowance?
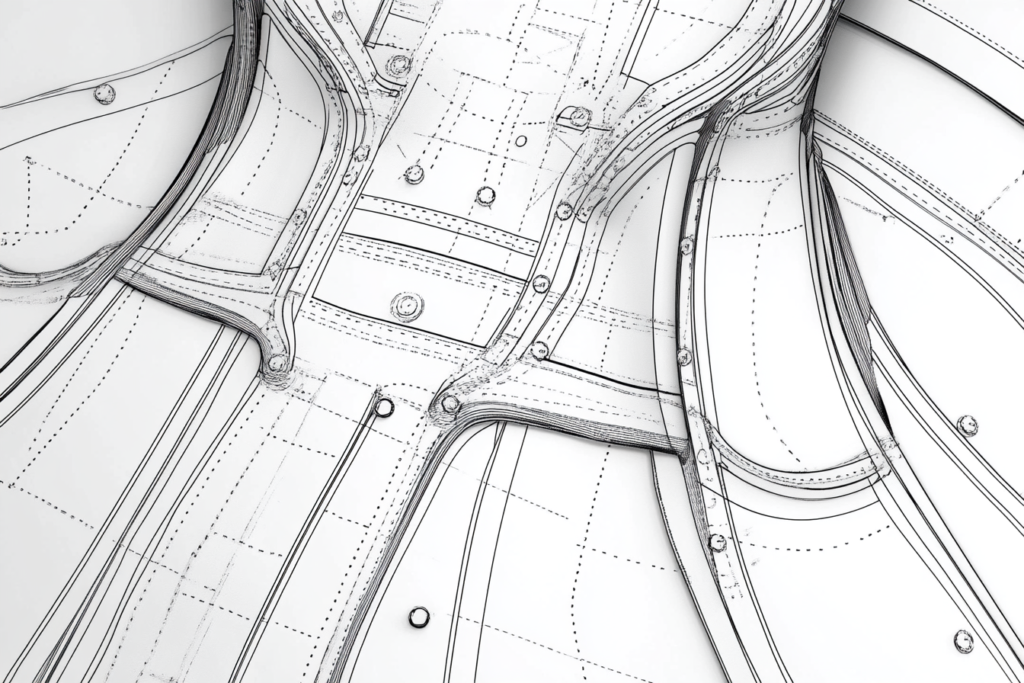
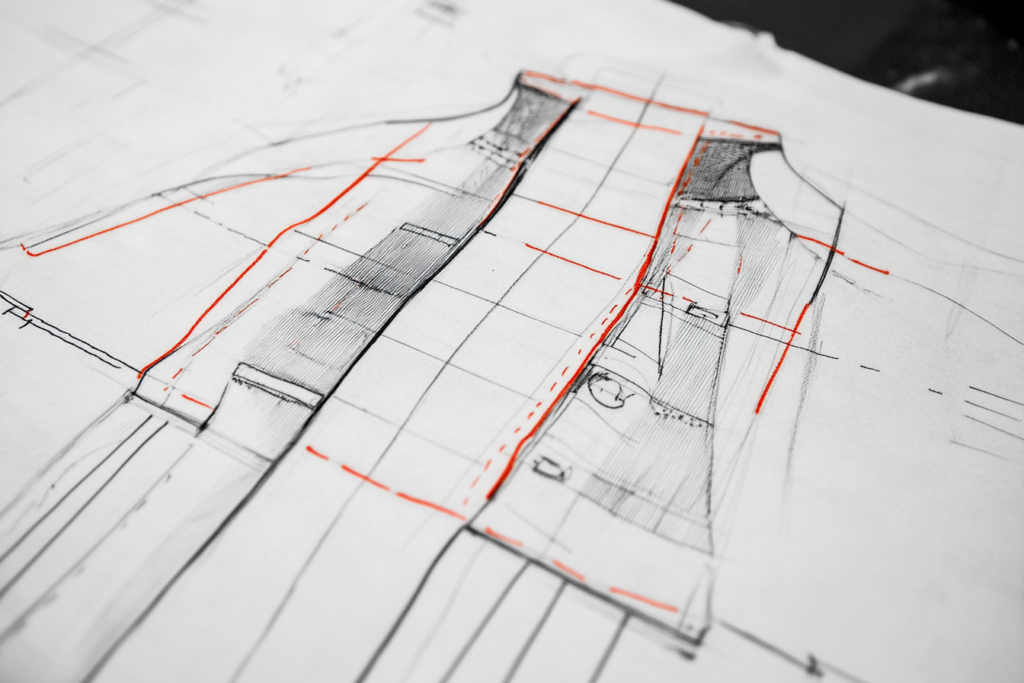
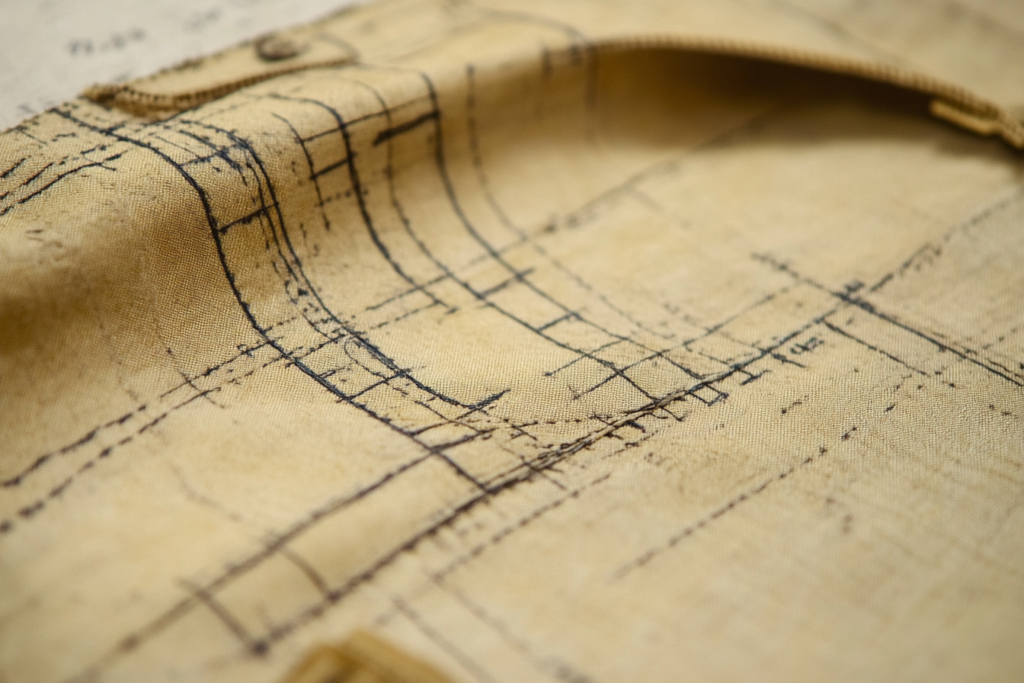
Seam allowance is the area of fabric between the seam line (where the stitching is applied) and the outermost edge of the fabric panel. It is an essential component of garment construction, as it provides the necessary extra fabric to sew pieces together, ensuring the garment fits correctly, remains durable, and has a clean finish.
In simple terms, the seam allowance is the extra fabric added to each piece of the garment to give space for sewing the seams. Without a seam allowance, the edges of the fabric would fray, and the garment wouldn’t hold together.


Why is Seam Allowance Important?
The seam allowance is critical for several reasons:
- Ensures Proper Fit
- The seam allowance allows for adjustments in fit. If the garment needs to be taken in or let out, seam allowances provide the flexibility to make these changes without affecting the integrity of the garment.
- Prevents Fraying
- Seam allowances also help prevent the raw edges of fabric from fraying or unraveling. This is particularly crucial when working with woven fabrics, which tend to unravel easily.
- Improves Durability
- A well-calculated seam allowance strengthens the garment by providing extra fabric for seam construction. It ensures that the stitches are anchored securely, reducing the likelihood of the seam coming undone.
- Facilitates Neat Finishing
- Seam allowances make it easier to finish seams neatly. With extra fabric, the raw edges can be hemmed, bound, or overlocked to create a polished look.
Standard Seam Allowance Measurements
The standard seam allowance typically varies based on the type of garment and the pattern being used. However, common seam allowances include:
| Garment Type | Standard Seam Allowance |
|---|---|
| Shirts and Dresses | 1/4″ to 5/8″ (6mm – 15mm) |
| Pants and Skirts | 1/2″ to 5/8″ (12mm – 15mm) |
| Jackets and Coats | 5/8″ to 1″ (15mm – 25mm) |
| Heavy Fabrics | 1″ (25mm) |
| Lightweight Fabrics | 1/4″ to 3/8″ (6mm – 10mm) |
Some sewing patterns may also suggest specific seam allowances, so it’s important to always follow the pattern instructions or adjust accordingly if you’re working without a guide.
How to Calculate Seam Allowance
When creating a garment, determining the correct seam allowance is crucial. Here’s how to calculate it:
- Add Seam Allowance to Pattern Pieces:
- If your pattern doesn’t include a seam allowance, you can add it by measuring the desired width (e.g., 1/4″, 1/2″, 5/8″) around the edges of the pattern pieces before cutting your fabric.
- Consider Fabric Type:
- Thicker fabrics (like wool or denim) may require a wider seam allowance (about 1 inch or 25mm), while lightweight fabrics (like cotton or chiffon) often require a narrower seam allowance (around 1/4″ to 3/8″).
- Adjust Based on Pattern and Design:
- If your pattern calls for specific seam finishes (like French seams or bound seams), you may need to account for additional seam allowance to ensure the finishes fit.
Common Seam Allowance Techniques
- Plain Seam Allowance
The most common type of seam allowance is a plain seam, where the seam allowance is stitched directly along the fabric edges, with or without finishing. - French Seam
A French seam involves folding the seam allowance inside, enclosing the raw edges for a clean, finished look. This technique is typically used for lightweight, delicate fabrics like silk and chiffon. - Double-stitched Seam Allowance
In some garments, particularly outerwear or heavy-duty items like coats, the seam allowance may be double-stitched for added strength and durability. - Overlocked Seam Allowance
Using a serger or overlock machine, the seam allowance is stitched and finished in one step, which helps prevent fraying.
How to Work with Seam Allowance
Here are a few tips to ensure you use seam allowance effectively in your sewing projects:
- Mark Seam Allowances:
- Always mark the seam allowance clearly on your pattern pieces, either with a ruler, measuring tape, or by using pattern notches as references.
- Use a 1/4” or 5/8” Presser Foot:
- Most sewing machines come with a presser foot that matches common seam allowance measurements. Using the correct presser foot can help you sew an even seam allowance every time.
- Press Seams Open or to One Side:
- After sewing the seams, press the seam allowances open or to one side to ensure a smooth, flat finish. This will also help with fit and durability.
- Finish Raw Edges:
- After sewing the seam, consider finishing the raw edges with an overlock stitch, zigzag stitch, or bias tape to prevent fraying and add a clean, professional look to your garment.
Conclusion: The Importance of Seam Allowance in Garment Construction
Seam allowance is a crucial aspect of garment construction that contributes to the fit, durability, and overall appearance of a piece. Understanding how to properly calculate, use, and finish seam allowances will help you create well-constructed garments with professional-quality seams.
Whether you’re making a simple dress or a complex jacket, the right seam allowance will ensure that your garment is both durable and stylish. Don’t underestimate the importance of this small detail—it’s a key component that can make a big difference in your sewing projects.


