Sleeve Cap: The Essential Curve in Sleeve Design
Meta Description: The sleeve cap is the upper curved portion of a sleeve that sits above the biceps. Learn how it affects garment fit, movement, and sewing techniques in fashion design.
What is a Sleeve Cap?
The sleeve cap is the curved upper portion of a sleeve that extends above the biceps and connects to the armhole of a garment. It plays a crucial role in shaping and fitting a sleeve, ensuring that it drapes naturally over the shoulder and allows comfortable arm movement.
The height, width, and shape of the sleeve cap influence the comfort, flexibility, and style of a garment.
Key Features of a Sleeve Cap
✔ Curved Upper Section of a Sleeve: Designed to match the shape of the armhole.
✔ Affects Fit & Mobility: Higher sleeve caps create a structured fit, while lower ones provide ease of movement.
✔ Used in Set-In Sleeves: Found in formal wear, tailored jackets, blouses, and dresses.
✔ Requires Ease for Proper Fit: A small amount of fabric “ease” allows the cap to curve smoothly over the shoulder.
✔ Essential in Pattern Making: Adjustments to sleeve cap height and width alter the overall silhouette of a garment.
How Does the Sleeve Cap Affect Fit?
The sleeve cap determines how a sleeve fits around the shoulder and upper arm. Its shape and construction impact:
1️⃣ Range of Motion
- A higher sleeve cap results in a closer, more structured fit, often seen in formal wear and tailored garments.
- A lower sleeve cap allows greater movement, commonly used in casual and sportswear.
2️⃣ Garment Style & Appearance
- A taller, narrow sleeve cap creates a sleek and fitted silhouette.
- A wider, lower sleeve cap provides a relaxed, draped effect.
3️⃣ Ease & Sewing Techniques
- Extra “ease” is often added to the sleeve cap to prevent tightness and ensure smooth attachment to the bodice.
- Certain sleeve styles (e.g., puff sleeves) require additional gathering at the sleeve cap for volume.
Types of Sleeve Caps in Fashion
| Sleeve Cap Type | Characteristics | Common Uses |
|---|---|---|
| High Sleeve Cap | Tall, narrow curve | Formal jackets, tailored blouses |
| Low Sleeve Cap | Shorter, wider curve | Casual shirts, loose-fitting tops |
| Puffed Sleeve Cap | Extra volume at the top | Romantic dresses, Victorian styles |
| Gathered Sleeve Cap | Soft pleats or gathers | Feminine blouses, puffed sleeves |
| Dropped Sleeve Cap | Extended shoulder seam | Oversized shirts, relaxed sweaters |
Each variation impacts mobility, fit, and aesthetics, making the sleeve cap a key design element in fashion.
How to Sew a Sleeve Cap Smoothly
1️⃣ Add Proper Ease
- Most sleeve caps require 1/2 inch to 1 inch of ease to ensure a smooth, non-restrictive fit.
2️⃣ Use Gathering or Easing Stitches
- Sew two rows of basting stitches along the sleeve cap edge to help shape and distribute fabric evenly.
3️⃣ Align Notches Correctly
- Sleeve caps have front and back notches to ensure correct positioning before sewing.
4️⃣ Press for a Professional Finish
- After attaching, press the sleeve cap over a tailor’s ham to shape the curve neatly.
Best Fabrics for Different Sleeve Caps
✔ Structured Sleeve Caps (Blazers, Suits) → Wool, Tweed, Linen
✔ Soft, Draped Sleeve Caps (Blouses, Dresses) → Silk, Chiffon, Rayon
✔ Casual, Relaxed Sleeve Caps (T-Shirts, Knitwear) → Cotton, Jersey, Stretch Fabrics
The fabric choice affects how the sleeve drapes, moves, and holds its shape.
Step-by-Step Guide: How to Sew a Sleeve Cap
A well-sewn sleeve cap ensures a smooth, professional finish in garment construction. Follow this step-by-step sewing guide for perfect sleeve attachment.
🛠️ Materials Needed:
✔ Fabric (pre-cut sleeve and bodice pieces)
✔ Matching thread
✔ Sewing machine
✔ Tailor’s chalk or fabric marker
✔ Tailor’s ham (for pressing)
✔ Pins or clips
📌 Step 1: Prepare the Sleeve Cap
- Mark front and back notches on the sleeve cap.
- If needed, add basting stitches (long, loose stitches) along the sleeve cap for easing.
📌 Step 2: Align the Sleeve with the Armhole
- Match the shoulder notch of the sleeve with the shoulder seam of the bodice.
- Align the front and back notches with the corresponding armhole notches.
📌 Step 3: Ease the Sleeve Cap
- Gently pull the basting stitches to gather the extra ease.
- Distribute the fabric evenly to avoid puckering.
📌 Step 4: Pin and Sew the Sleeve Cap
- Start pinning from the shoulder seam down to the underarm seam.
- Sew slowly, keeping the fabric smooth and slightly curved.
📌 Step 5: Press the Sleeve Cap for a Professional Finish
- Use a tailor’s ham to shape the curve while pressing.
- Press the seam allowance toward the sleeve side for a clean, structured look.
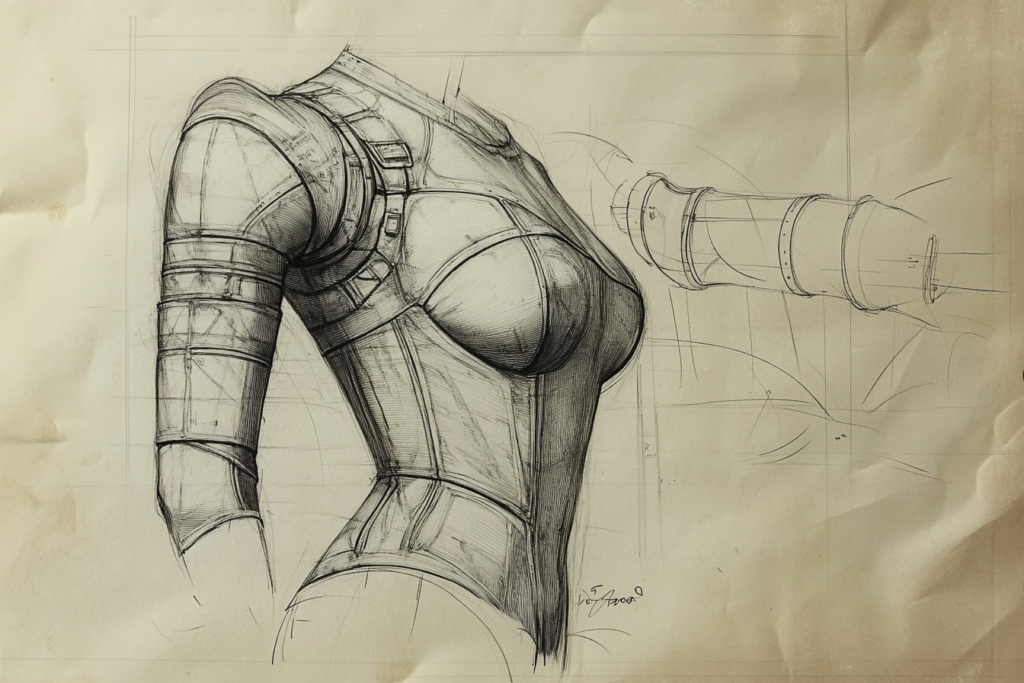
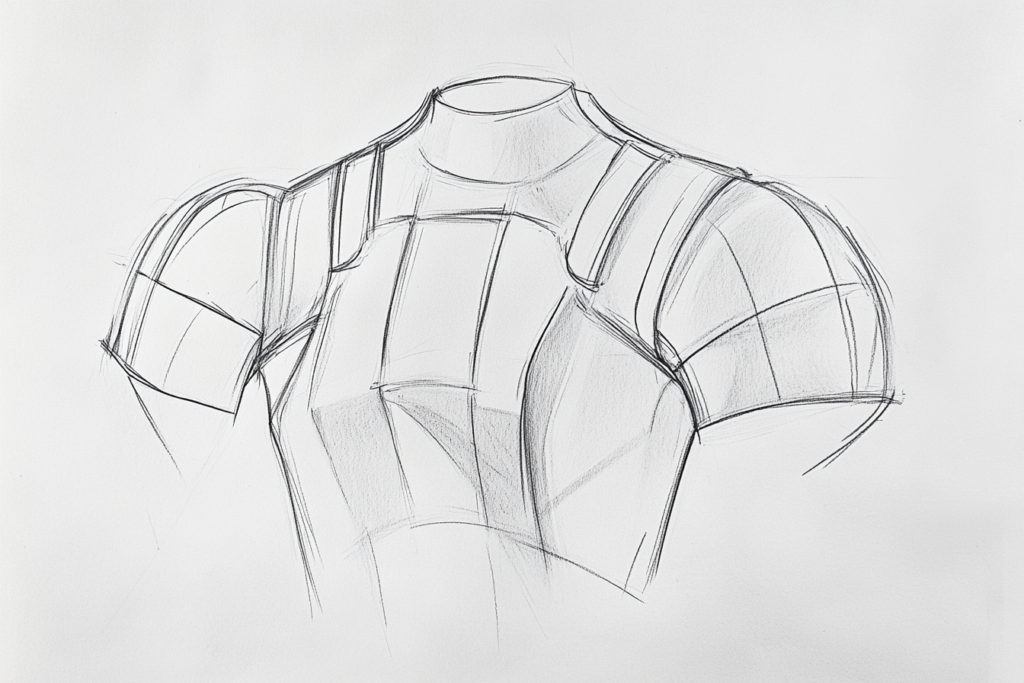
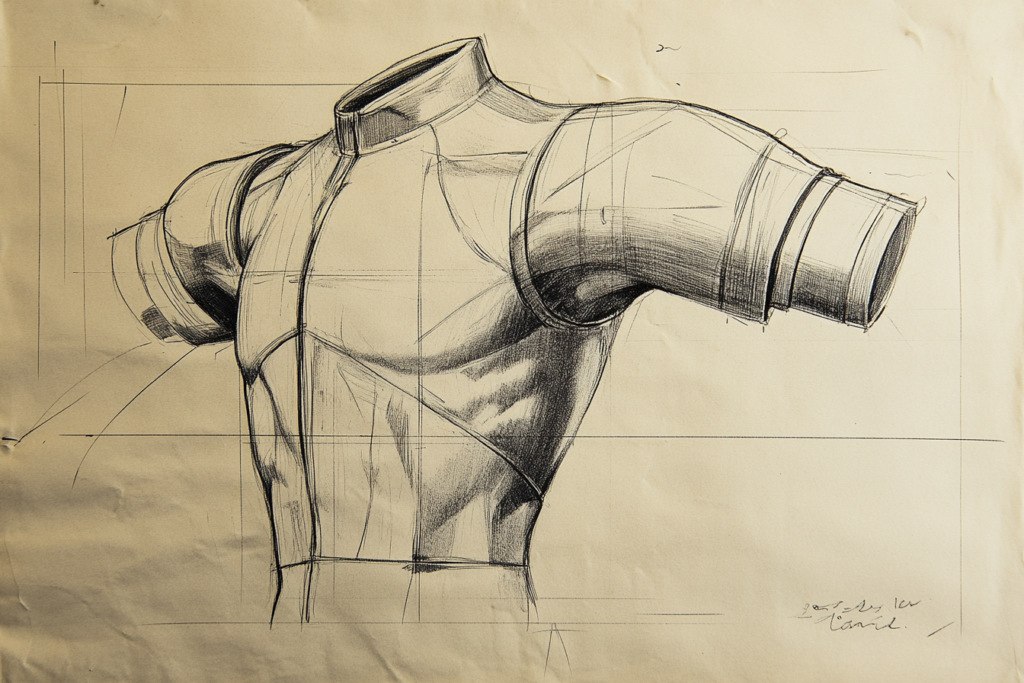
🖼️ Illustrations for Sleeve Cap Construction

Here’s an instructional step-by-step illustration for sewing a sleeve cap. This visual guide will help you understand the alignment, easing, pinning, stitching, and pressing process for a smooth and professional finish. Let me know if you need further explanations or modifications!
Sleeve Cap vs. Armhole: What’s the Difference?
| Feature | Sleeve Cap | Armhole |
|---|---|---|
| Definition | The curved top portion of the sleeve | The opening in the bodice where the sleeve attaches |
| Affects | Sleeve fit, shape, and movement | Overall garment comfort and flexibility |
| Pattern Design | Requires ease for smooth shaping | Needs proper depth for mobility |
Both the sleeve cap and armhole must be balanced to create a well-fitting garment.
Conclusion: Why the Sleeve Cap Matters in Fashion Design
The sleeve cap is an essential part of garment construction, impacting fit, comfort, and movement. Whether designing a structured jacket, a flowing blouse, or a casual T-shirt, understanding sleeve cap variations helps create garments that fit flawlessly and look elegant.
By mastering sleeve cap shaping, ease adjustment, and fabric selection, designers and sewists can ensure comfortable, stylish, and well-constructed clothing.


