🧷 Button Attachment Methods in Garment Manufacturing
Button attachment is not just a minor detail — it plays a critical role in garment quality, durability, and safety. Whether you’re producing fashionwear, workwear, or children’s clothing, how a button is sewn determines both the performance and perceived value of the final product.
This article explores machine and hand-sewn button attachment techniques, preferred stitches, and quality control tips — especially important for high-traffic or safety-critical garments.
🔹 Importance of Proper Button Sewing
- 🧵 Prevents detachment during use
- 👕 Extends garment lifespan
- ⚠️ Reduces risk of choking in children’s garments
- ✅ Improves customer satisfaction and brand trust
🔸 Common Stitch Types for Button Machines
1. Lock Stitch (Stitch Type 304)
✔️ Recommended for strong, durable attachment
✔️ Thread interlocks inside the fabric, minimizing fray
✔️ Great for medium to heavy fabrics
🔁 Creates secure, balanced tension on all button holes
2. Chain Stitch (Stitch Type 101)
⚠️ Not recommended for button sewing
❌ Can unravel from one loose thread
🧵 Often used for temporary attachments or low-load applications
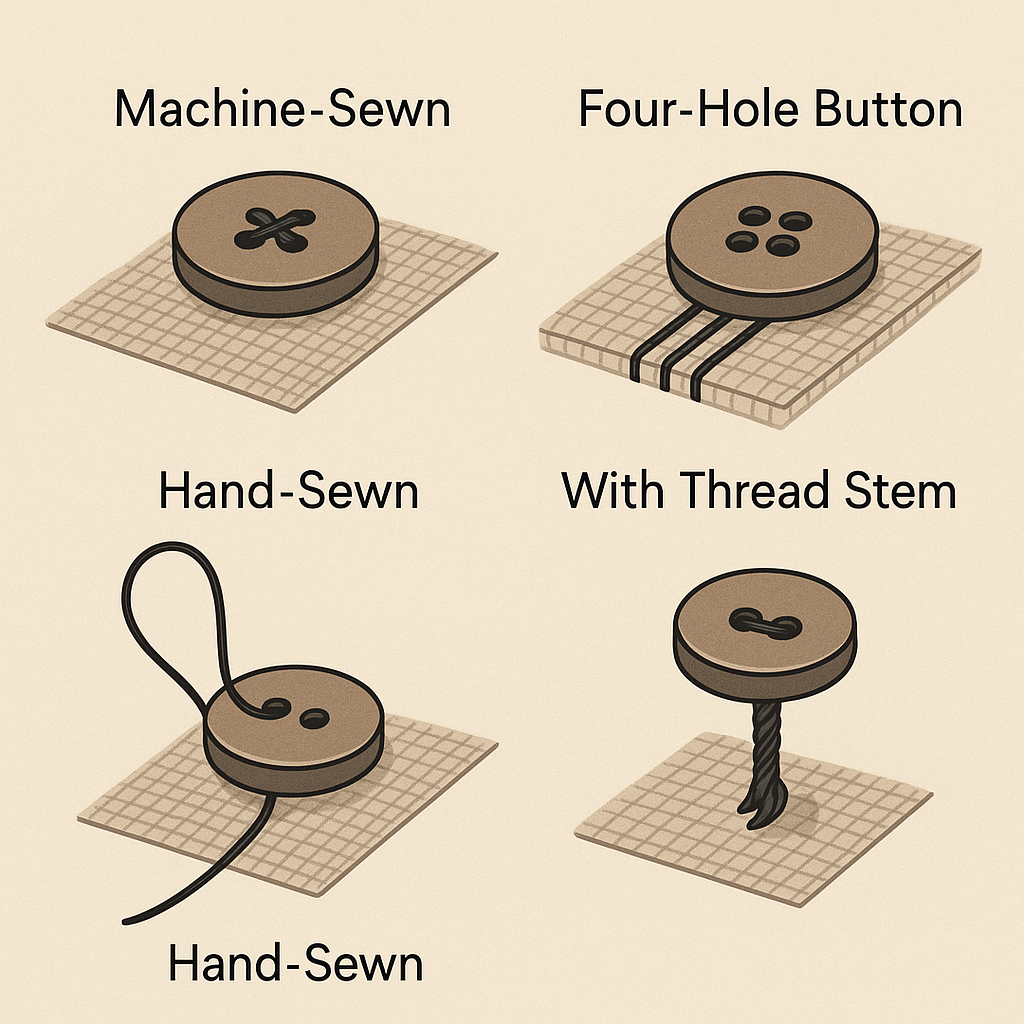
🧷 Button Hole Configurations and Sewing Techniques
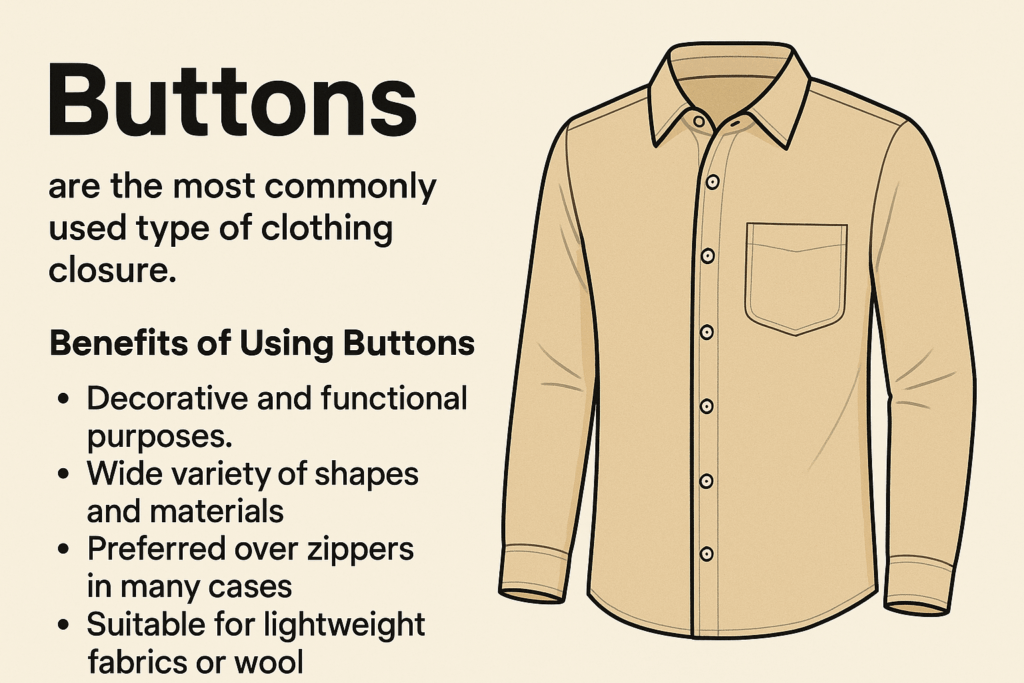
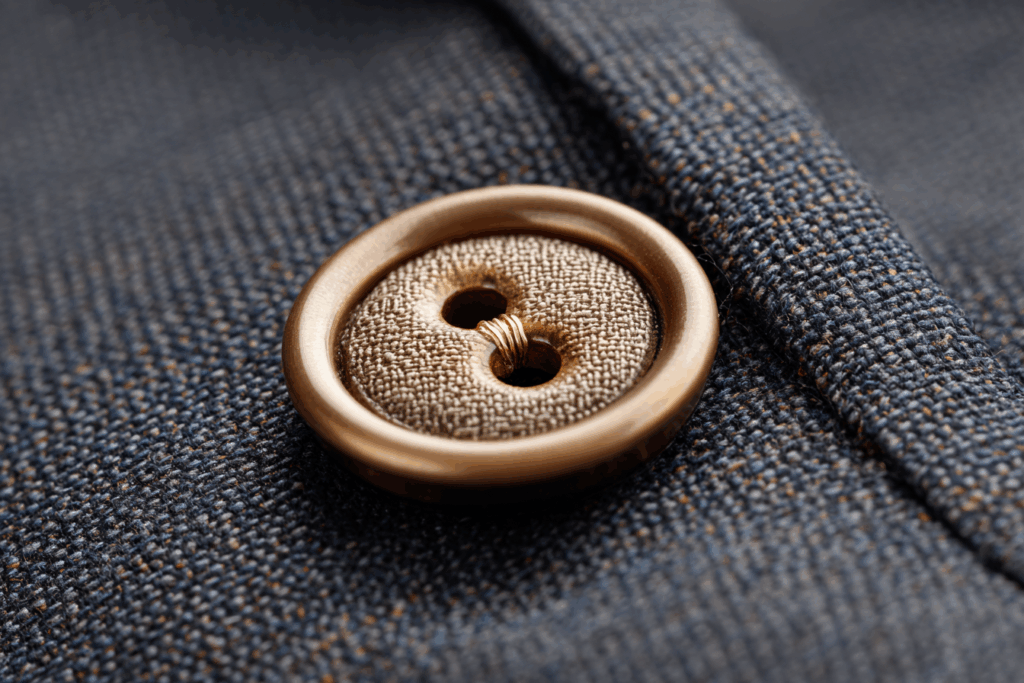
🟤 Two-Hole Buttons
- Can be sewn with or without a thread stem for spacing
- Suitable for lightweight fabrics
- Hand sewing allows better control over shank height
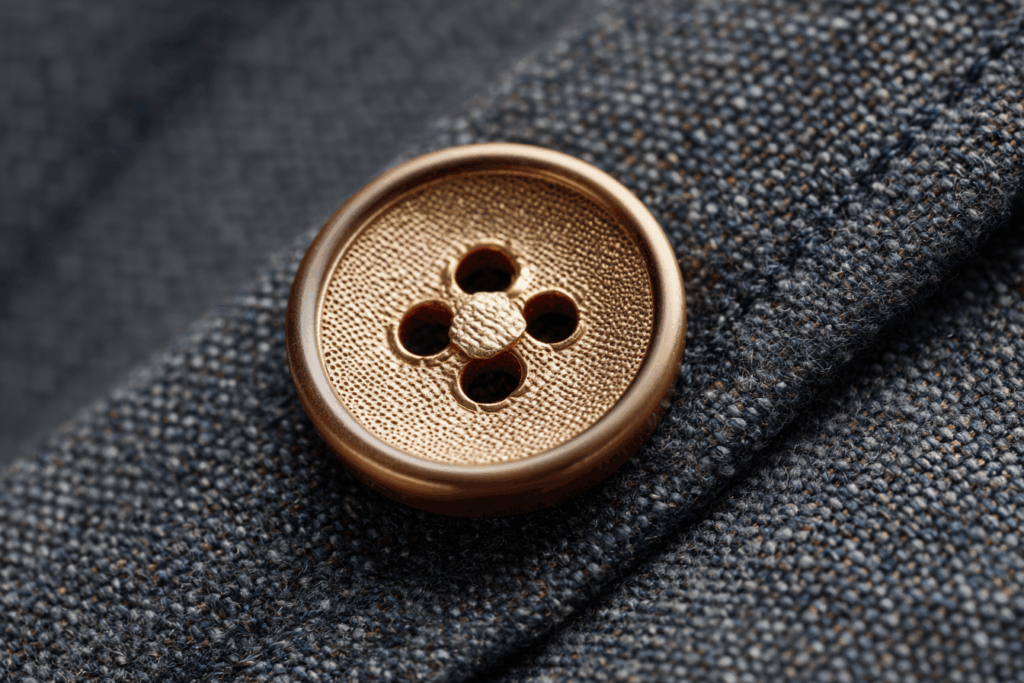
🟤 Four-Hole Buttons
- X-shape stitch: Classic, with double thread
- Parallel stitch: Creates a square or box shape
- Four-thread method: Highly secure and more durable than 2-hole versions
- Recommended for outerwear, uniforms, or children’s clothing
📌 Tip: Stitch each pair of holes separately for extra strength.
🪡 Hand Sewing Buttons: When & Why
While machine-sewn buttons are common, some garments still require hand-sewn buttons, particularly:
- French plackets with hidden buttons
- Heavy fabrics (e.g., wool coats, denim)
- Designer or bespoke garments
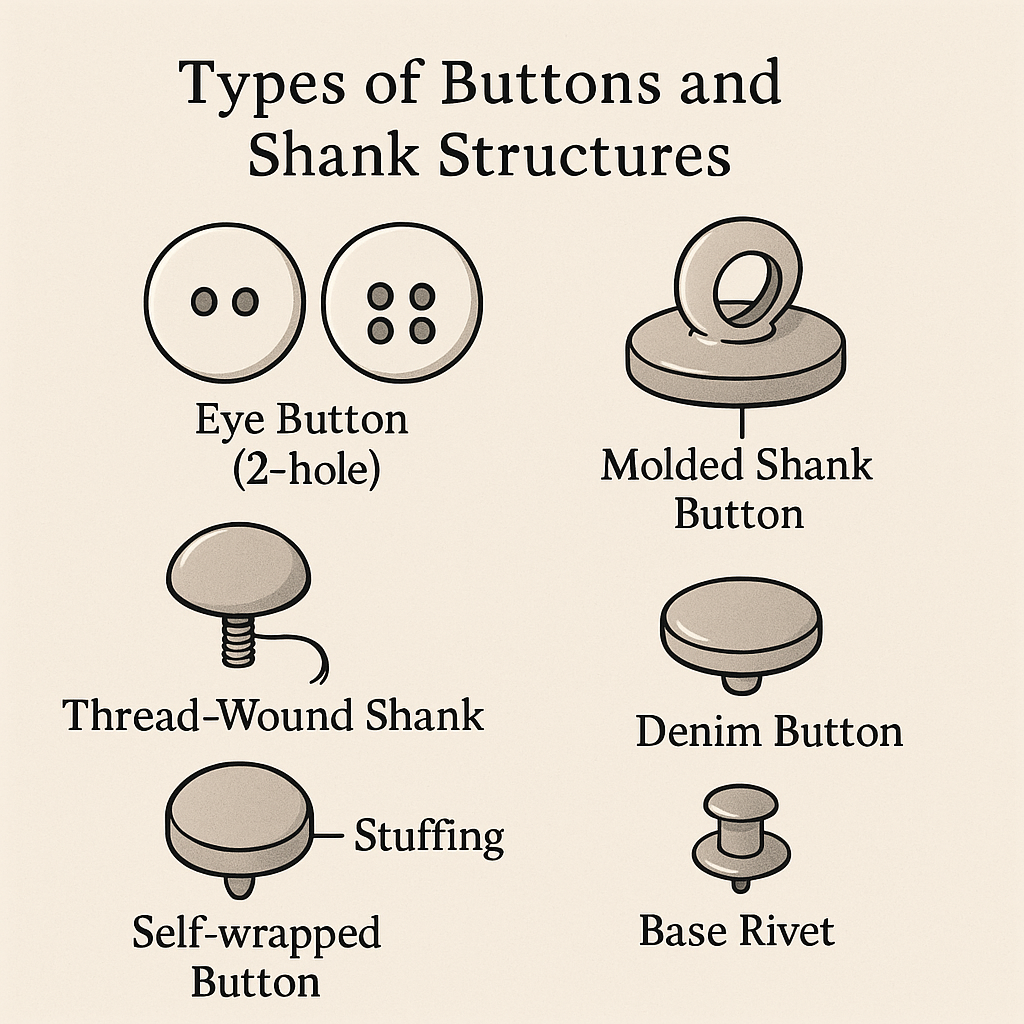
Creating a Hand-Wound Thread Stem:
- Pass the needle multiple times through the button and fabric.
- Insert a pin or toothpick under the button to create space.
- Remove the pin and wrap the thread tightly around the stem to secure it.
- Knot the thread under the wrap for reinforcement.
✔️ This thread stem acts as a shank, giving the button room to rest naturally above thicker fabrics.
🚸 Safety Note: Button Strength in Children’s Clothing
- Buttons must pass tensile strength tests
- Weak button attachment = choking hazard
- Reinforce all buttons with secure stitching and shank wrapping
- Use lock stitch (304) and inspect every button
📌 Best Practice: Perform pull testing on children’s garments as part of quality control.
✅ Summary of Best Practices
| Button Type | Preferred Stitch | Method | Application |
|---|---|---|---|
| 2-Hole (light fabric) | Lock stitch 304 | Machine/Hand | Shirts, blouses |
| 4-Hole (medium fabric) | Lock stitch 304 | Machine | Jackets, school uniforms |
| Decorative/Hidden | Hand sewing | With thread stem | French plackets, designer pieces |
| Children’s Buttons | Lock stitch 304 | Machine | Must pass strength testing |