How to Measure Garments: Ensuring Accuracy and Precision in the Prototype Process
Meta Description: Learn how to properly measure garments during the prototype phase. Discover the tools and techniques required to ensure accuracy in garment fitting, pattern adjustment, and production quality control.
The journey from a design concept to a fully-realized garment involves multiple stages, one of which is the creation of a prototype. The first prototype is an exciting moment for any designer, as it is the tangible representation of an idea. While it’s ideal that the factory interprets the design accurately, fitting and measuring the prototype is a crucial step to ensure everything aligns with the intended fit and proportions. Often, this step reveals necessary adjustments, whether it’s size modifications, design tweaks, or improvements in sewing quality.
Carefully measuring the new prototype is not just about checking if the measurements match the specifications—it’s an opportunity to evaluate the overall appearance, construction quality, and sewing integrity. In this article, we’ll guide you through the process of accurately measuring a prototype, the tools involved, and how to ensure the design meets its expected standards during this important phase.
The Importance of Accurate Prototype Measurement
When the first prototype of a garment is made, it’s crucial to thoroughly measure it to ensure it meets the designer’s vision and the specifications outlined in the process sheet. While a perfect prototype that fits the model precisely on the first attempt would be ideal, it is rare. More commonly, there are details that need to be adjusted. These adjustments could involve redefining certain pattern details, modifying the fit, or correcting production errors.
Key Benefits of Measuring a Prototype:
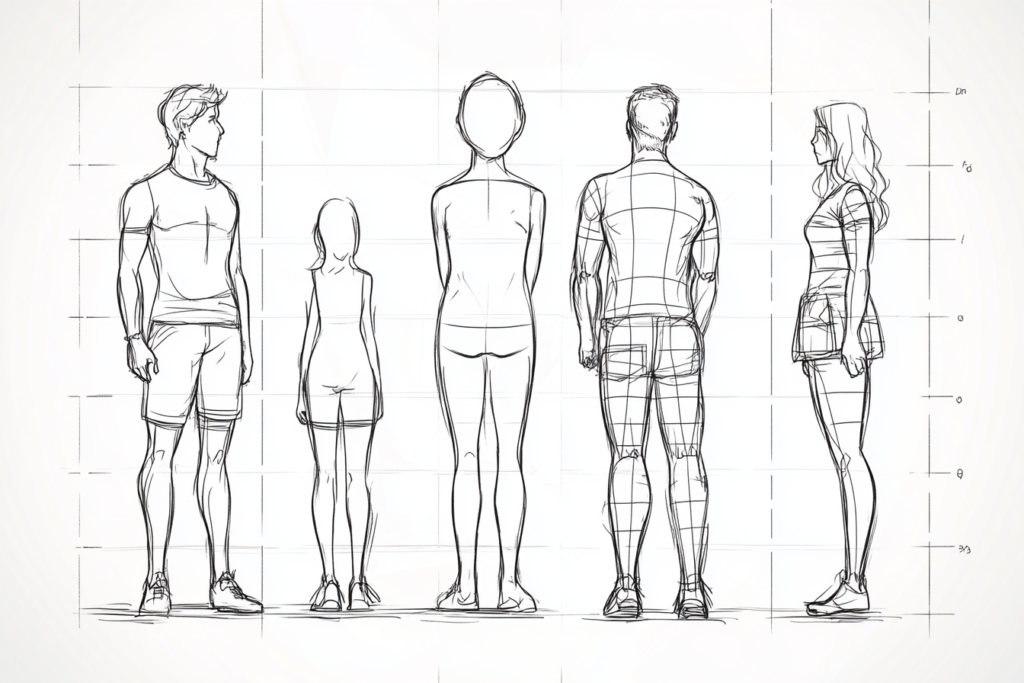
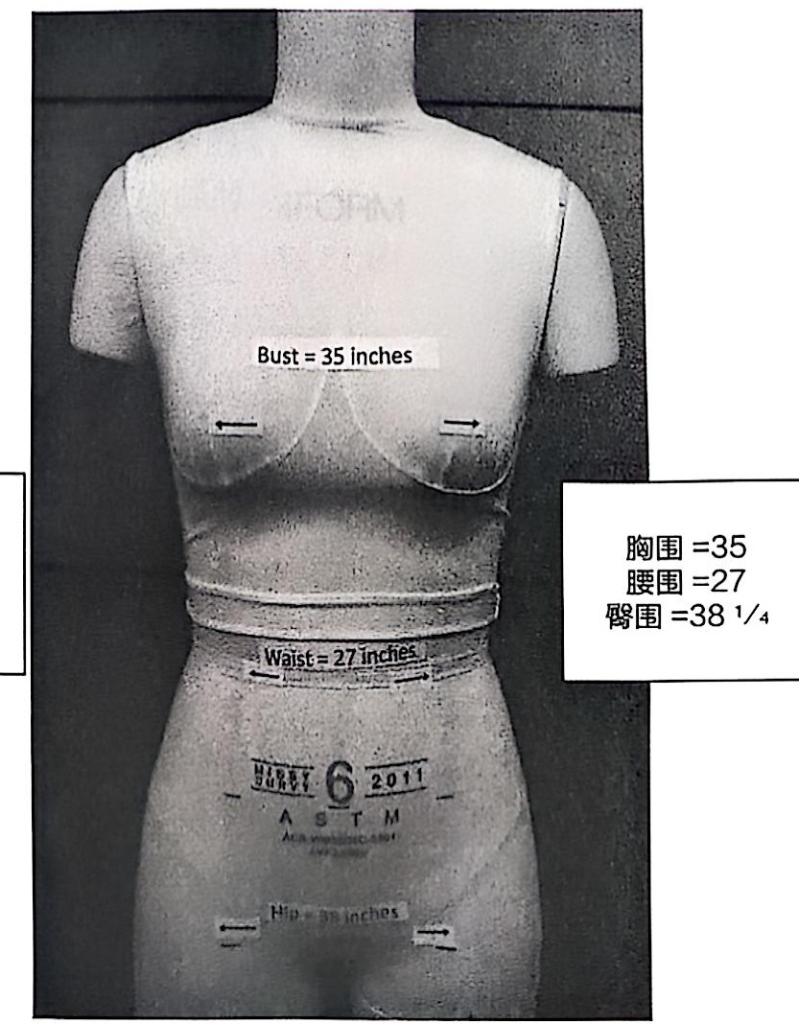
- Verifying Size Proportions: Accurate measurements ensure the prototype fits correctly in all key areas such as the bust, waist, hips, and inseam. This step is essential for determining whether the garment design works for the intended body type.
- Ensuring Sewing Quality: Measuring also provides an opportunity to check the quality of sewing, such as stitching consistency, seam integrity, and finishing techniques. These elements directly impact the overall appearance and durability of the garment.
- Identifying Errors Early: Early measurements help pinpoint potential issues such as pattern errors, incorrect fit, or discrepancies between the design and the prototype. This step allows designers to catch problems early, avoiding costly mistakes during production.
- Aligning with Production Standards: By ensuring that the sample matches the measurements set in the process sheet, the designer can confirm that the factory is interpreting the specifications correctly and that the production process is on track.
Measurement Settings: Proper Setup for Accuracy
To achieve accurate measurements, it’s essential to have the right setup and tools. Here’s a breakdown of the ideal conditions and tools for measuring a garment prototype.
Table and Surface Requirements
For precise garment measurement, the garment must be laid flat on a stable, smooth surface. This is crucial for ensuring the garment does not distort during measurement.
- Table Height: The table should be at a comfortable height for the person measuring the garment, typically around waist level, to prevent strain.
- Surface: The surface of the table should be smooth and even. Avoid surfaces like cork or fabric, as they can cause the garment to shift or wrinkle, leading to inaccurate measurements. A solid wooden or metal table works best.
- Flat Garment: Ensure that the garment is lying flat without hanging over the edge of the table. The fabric should not be stretched or pulled taut, as this could distort the measurements.
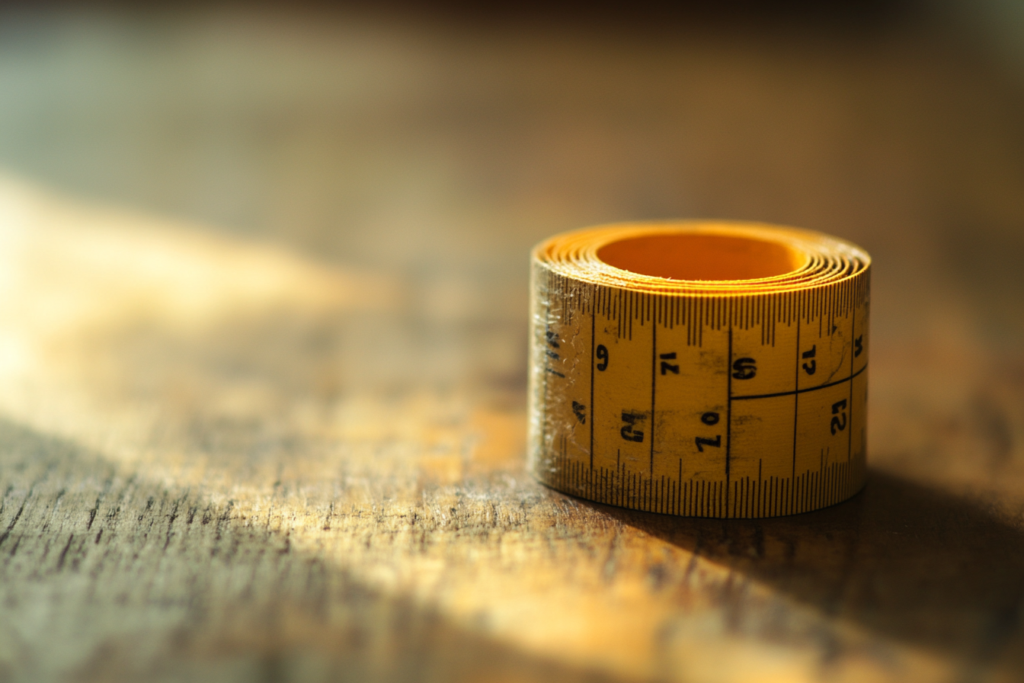
Main Measuring Tool: The Tape Measure
The tape measure is the primary tool for measuring garments, and it’s essential that it is both accurate and flexible. Here’s what to look for:
- Fiberglass Coated Tape: A tape measure with a fiberglass coating is ideal for garment measurements as it is durable and resistant to stretching. It helps maintain consistent accuracy over time.
- Measuring Long Distances: The tape measure is used to measure larger distances such as bust, waist, hip, and inseam.
- Straightening Curves: For more complex measurements like armholes or neckline curves, carefully pull the tape along the garment to ensure it follows the curves naturally without stretching.
Tip: As the tape measure ages, the edges may bend or curl, compromising its accuracy. When this happens, use a ruler to verify measurements.
Other Tools for Precise Measurement
In addition to the tape measure, there are several other essential tools to ensure accurate measurements and construction of the prototype.
- Masking Tape (1/4 inch wide): Used to mark key measurement points on the garment, such as the shoulder seams, bust points, or waistlines. This helps the person measuring stay aligned and ensures consistent results.
- Dressmaker Chalk: Useful for marking measurements directly on the fabric. Dressmaker chalk is easily removable, making it a temporary marking tool to guide sewing or alterations during fitting.
- Tack Pins: These are used for temporarily holding parts of the garment together when measuring, such as holding the side seams or marking fit adjustments. Ensure pins are placed gently to avoid distorting the fabric.
- Safety Pins: Safety pins can be used for the same purpose as tack pins, but they are safer to use and less likely to cause fabric damage during the measurement process.
- Transparent Ruler (Quilting Ruler): A transparent ruler is a helpful tool for measuring smaller, straight-line distances such as hem lengths, collar dimensions, and cuff widths. The transparency of the ruler makes it easy to align it with the garment’s edges.
- L-Shaped Square Ruler: This tool is useful for ensuring that edges and corners are perfectly square, especially when measuring necklines, armholes, or any part of the garment that requires precise right angles.
- SPI Stitch Counter: The SPI (Stitches Per Inch) stitch counter helps ensure that the stitching meets the required density and quality standards. It’s a useful tool for checking the sewing quality on prototypes.


Measuring Different Clothing Categories
Different types of garments require specific measuring techniques. Here’s how to measure various categories of clothing:
Tops and Dresses
- Chest/Bust: Measure across the fullest part of the bust, ensuring that the tape measure is straight and not pulled too tightly.
- Waist: Measure the narrowest part of the garment (usually near the natural waistline).
- Length: Measure from the highest point of the shoulder (at the neck) to the hemline.
Bottoms (Pants, Skirts, Shorts)
- Waist: Measure around the waistband area, where the garment will sit.
- Inseam: Measure from the crotch seam to the bottom of the pant or shorts hem.
- Rise: Measure from the crotch seam to the waistband at the front and back to determine the pant’s rise (low, mid, or high).
Outerwear (Coats, Jackets, Blazers)
- Shoulder Width: Measure across the back from one shoulder seam to the other.
- Sleeve Length: Measure from the shoulder seam to the cuff of the sleeve.
- Jacket Length: Measure from the center back at the neck to the hemline of the coat or jacket.
Evaluating the Prototype: Fitting and Measurement Records
Once the prototype has been measured, it’s important to record the measurements and compare them against the original design specifications and the spec sheet. These records serve as the official “fitting record” that documents each garment’s measurements and any discrepancies found during the fitting process.
The fitting record should include:
- Measurement Points: The exact points where the garment was measured.
- Pattern Changes: Any pattern adjustments that were made based on the fitting session, such as increasing ease or adjusting seams.
- Sewing Quality Checks: Notes on sewing quality, including stitch consistency, seam strength, and finishing techniques.
The final fitting record provides crucial feedback for pattern makers, technical teams, and manufacturers to ensure that subsequent samples and the final production run adhere to the correct measurements and quality standards.
Conclusion
Measuring a garment prototype is a critical step in the design and production process. It ensures that the garment fits as intended and meets the designer’s vision. Proper tools, a flat measuring surface, and clear measurement standards are necessary to achieve accurate results. Additionally, measuring the prototype allows designers to evaluate the garment’s construction, identify areas for improvement, and make any necessary modifications before full-scale production begins. By following these steps, designers and manufacturers can produce high-quality garments that fit well and meet customer expectations.